Choose the question before the composition
Start with something observable: parallel lines on a slab, droplets crossing dark rock or the boundary between seaweed and bare stone. Ask what the photograph should communicate. If the question concerns texture, close framing and directional light may help. If it concerns a hanging valley, an isolated waterfall crop may remove the very relationship you need to show.
Make a pair of images whenever possible. The first establishes the surroundings; the second examines the detail. This approach works with a phone as well as a dedicated camera. A striking shallow-focus image can introduce a subject, but it is not automatically a strong identification record. Keep another frame with enough depth and context to show the relevant structure.
Let light describe the rock
Low-angle light can reveal small ridges and grooves through their shadows. Walk only within an already safe, permitted area to test how the surface changes with viewpoint. Overcast light produces softer contrast and can be useful for wet stone, where hard sunlight creates bright reflections. Do not pour water onto a rock to deepen its colour or clean away lichens to expose a line.
If your camera offers exposure compensation, reduce exposure slightly when bright wet highlights lose detail, then check the result. A polarising filter can sometimes reduce reflections, but it may also remove information about wetness or change the appearance unevenly. Treat it as a choice about what to show, not an automatic improvement. Record important alterations when using an image for education.
Decide what water should look like
A short exposure can separate droplets and reveal turbulent detail. A long exposure blends motion into streaks or a continuous veil. As starting experiments, try around 1/500 second for spray detail and around 1/4 second for visible motion, adjusting for light, distance and the speed of the water. These are not guaranteed settings, and neither treatment measures discharge.
Use a stable support for slower exposures where it is permitted and does not block a walkway. Secure equipment without attaching it to fragile vegetation. Keep a dry cloth available for the lens, but do not move closer to an edge just to escape spray. A lens hood can help with droplets, while a weather cover may protect equipment; neither makes the photographer safe from slippery ground.
Work gently with living textures
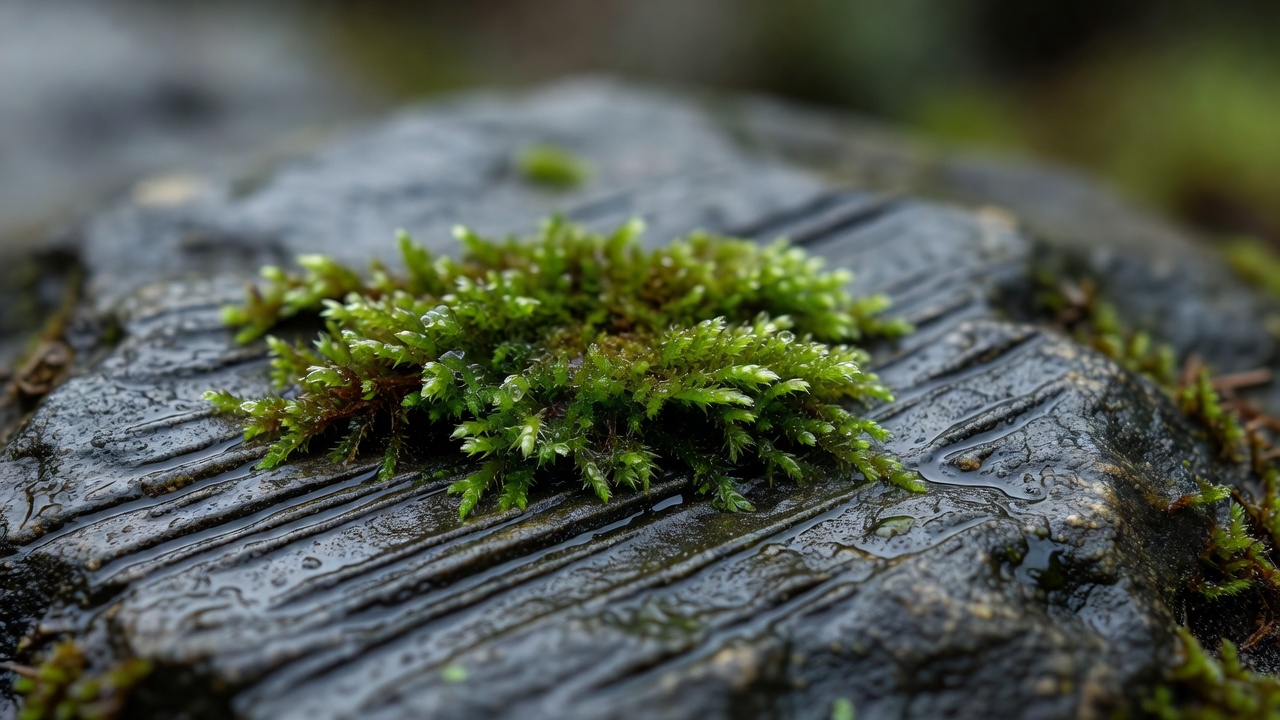
For moss, rockweed or barnacles, place the camera parallel to the most important surface if you need more of it sharp. At close distances, depth of field can be very limited. On a phone, avoid moving closer than the lens can focus; stepping back and cropping modestly may produce a clearer result. With a camera, review focus at a useful magnification rather than trusting a small preview.
Do not move an animal, lift attached seaweed or remove debris from a habitat to simplify the background. A busy frame may accurately show how an organism lives. If you need an uncluttered educational illustration, choose a different naturally visible subject. Leave stones in place and keep tripods, bags and knees off moss and intertidal communities.
Use a viewpoint to show relationships
At Stegastein above Aurlandsfjord, try including a slope and the waterline so the trough has readable scale. At an established Geirangerfjord viewpoint, place a tributary waterfall in relation to the main valley rather than cropping it into an anonymous ribbon. Around Nærøyfjord, a wider view can show confinement, while a longer lens can compare layers of rock and vegetation without leaving the path.
Check access and conditions through official local sources. Platforms, roads and trails may close, and a photograph found online does not prove that the shooting position was safe or legal. At popular places, give other visitors space. Never climb a barrier, stand on an unstable ledge or step into a road to recreate someone else’s composition.
Write a caption that respects the evidence
A strong caption separates what is visible from what is inferred. “Parallel grooves on polished bedrock” describes an observation. “Consistent with glacial abrasion” offers an interpretation. Avoid attaching a precise age, species name or water-quality claim unless you have evidence for it. Note the approximate place, conditions and whether the frame is a detail or a wider view.
Routine exposure and colour adjustments can improve clarity, but do not present composited subjects or removed features as an unaltered field record. Keep original files when possible. Consider withholding precise coordinates for sensitive habitats or vulnerable wildlife. The best souvenir is a photograph that increases understanding without reducing the place’s value for the organisms living there.